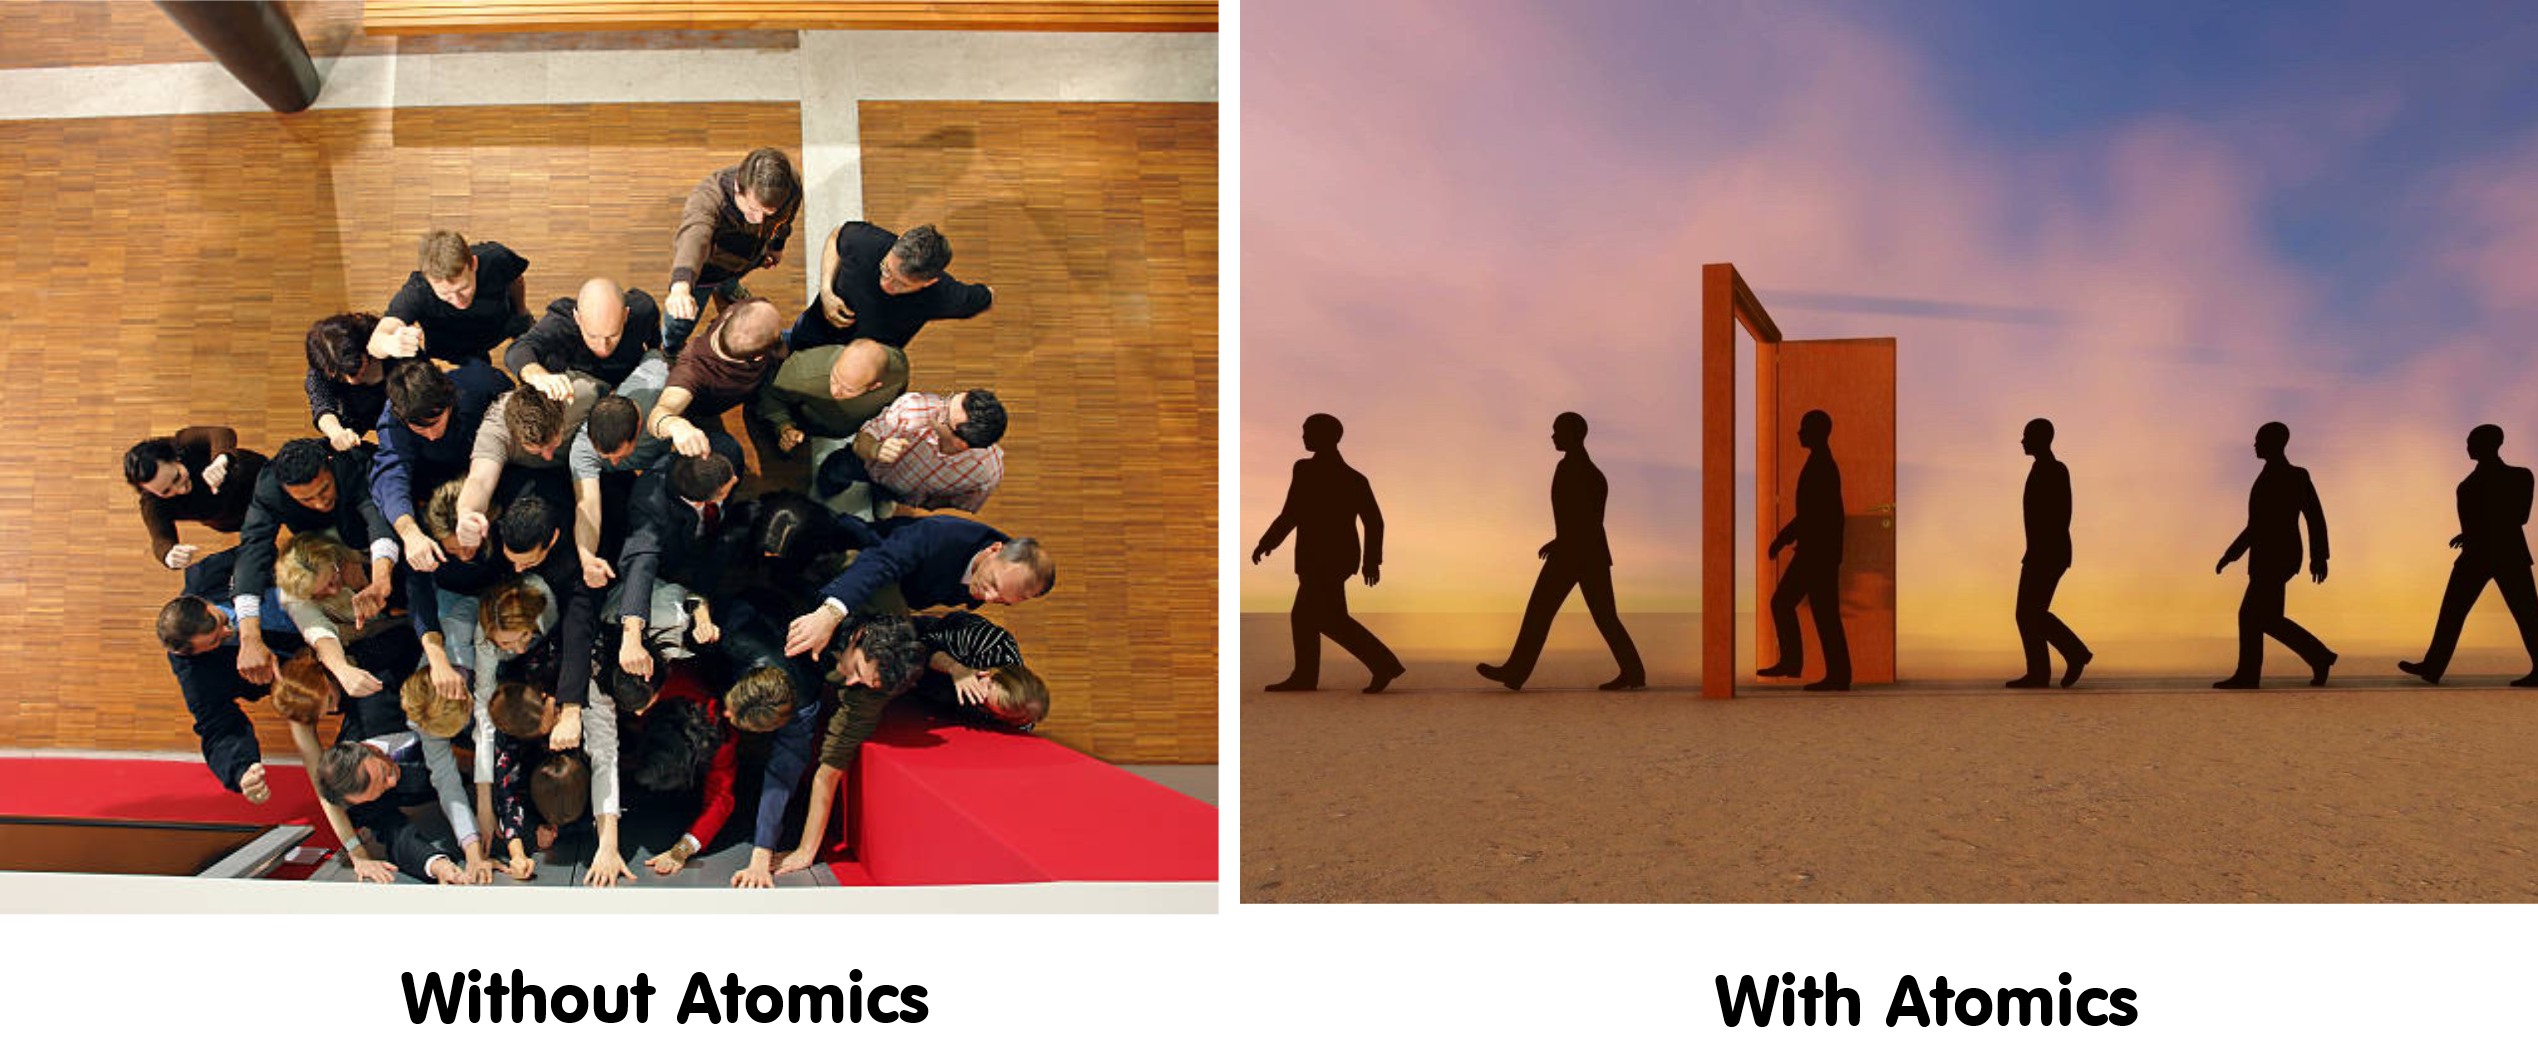
While your GPU threads are able to read from the same location without any problem - as soon as you try and have them write to the same location - you're going to hit a wall of pain! This situation is known as race conditions.
Memory has to be shared - so you have to manage access - especially during 'writing'. Imagine memory as a door - and people as threads - without any coordination or rules - if they all have to write to memory it's like them all trying to get through the door at the same time.
Race conditions occur when multiple threads (or processes access) and manipulate shared data concurrently, and the final outcome depends on the timing and sequence of these accesses. Lead to unpredictable behavior and bugs, as the operations interfere with each other, often resulting in inconsistent or incorrect data.
Their are 2 solutions to this problem:
1. Modify the algorithm so it does not need to write to the same location (e.g., double buffer)
2. Using thread 'atomics' (managing/locking memory blocks)
Each has pros and cons - the extra memory and double buffering approach might require substantially more memory and require multiple iterations to synchronize calculations.
Then again, thread atomics cause 'stalls' (or queues) while threads fight to get access to memory data.
Thread atomics are operations that are performed atomically, ensuring that a thread can complete a read-modify-write sequence on shared data without interruption, preventing race conditions.
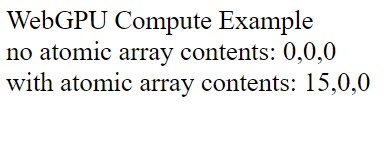
Example - With and Without Atomics
The follhowing example has multiple threads each try and add a number to the same memory location. One case will not use an atomic and the other will. As you'll see the non-atomic version produces the incorrect result.
Interestingly as well, you won't get any warnings or errors if you don't use atomics - you'll just get an incorrect answer at the end. For more complex algorithms you might get a situation where it works occasionaly (stability problems). Which is a really really bad things!
Code - Atomic Addition
Start by adding a 'div' element to the window - this will be so we can put any log information on the screen in a big font (size 20). We then add our own 'log' function - which 'appends' the information to the div contents.
<?php
let div = document.createElement('div');
document.body.appendChild( div );
div.style['font-size'] = '20pt';
function log( s )
{
  console.log( s );
  let args = [...arguments].join(' ');
  div.innerHTML += args + '<br>';
}
Just to test the log function works - start by sending the message 'WebGPU Compute Example'
<?php
log('WebGPU Compute Example');
Do a quick check to see if the WebGPU API is available - it should, but if not, the message will be displayed in the window.
if (!navigator.gpu) { log("WebGPU is not supported (or is it disabled? flags/settings)"); return; }
Now we go ahead and get the adapter and the device. You'll typically use the 'device' for all WebGPU calls (probably the most important).
Adapters and Devices Adapter represents a specific hardware capable of running WebGPU code, essentially serving as an interface to the underlying graphics system; while the device, on the other hand, is an abstraction representing a virtualized instance of the GPU hardware, providing a context for resource allocation and execution of rendering and computation commands. You don't deal with the hardware directly - you always do it through the device.
Let's create a few buffers - 1 will be for input data (source of numbers) and the other 2 will be for the output test. To keep things simple, all three buffers are the same size. Notice the important flags - going to be used on the compute shader - so the
GPUBufferUsage.STORAGE
flag needs to be set. Similarly the
GPUBufferUsage.COPY_DST
flag allows us to copy data to the buffer from the CPU (using the writeBuffer).
The output buffers (buffer0 and buffer1) has the
GPUBufferUsage.COPY_SRC
flag set so we can copy the result back and print it to the log output later on.
We have the buffers and their types - we use the group layout and bindings to define this information (which must match what is in the shader and pipeline).
The
buffer0
is the input data and is
read-only-storage
while
buffer1
and
buffer2
can be used for read and write. Notice the read/write storage is set to
All ready to jump in and get started with the actual compute shader (written in wgsl). This is what actually does all the computational work on the gpu threads.
First we define the bindings for the data buffers (buf0, buf1, and buf2).
buf2
will use atomics to safely manage multi thread read/write access - so it requires the
atomic
keyword when declaring the buffer binding.
Atomic operations are limited to only
i32
and
u32
data types (you can't use it on floating point data).
Create workgroup size of 8, but only 3 threads will be used (only 3 numbers in the array) - each array number will run its own thread. Have each array element add its value to a common buffer (buffer1 for the non-atomic and buffer2 for the atomic one).
For completeness, we've also included all the
builtin
variables (globalid, localid workgroupid, ..). The only one you're going to need here is the
globalId
- which will be used to identify which thread this is. Since we have 3 memory locations in the array, we will use the globalId to operate on each one (0, 1, 2).
Note, the workgroup size is 8, so 8 threads will be created (kept the number a power of 2) - so at the start if the globalId is greater than 3, we just return and stop this thread from doing anything.
All ready to launch! Create a command encode, link the pipeline and group bindings and dispatch '1'. The local workgroup on the shader was set to 8. So only a single workgroup is needed.
Dispatch and Workgroup Dimensions Both the dispatch and workgroups are 3 dimensional (x, y and z).
Write a simple helper function for getting the output result back to the CPU. Essentially takes the GPU buffer (src), create a temporary holding buffer and copies the result back. The temporary holding buffer has the
GPUBufferUsage.MAP_READ
flag set so we can copy the data to a JavaScript array with the
mapAsync
. After the result is copied, it's sent to the output window using the `log` function - so you should see the result on the screen.
<?php
async function getGPUBuffer( buf, siz, msg )
{
// Note this buffer is not linked to the 'STORAGE' compute (used to bring the data back to the CPU)
const gbufferTmp = device.createBuffer({ size:  siz, usage: GPUBufferUsage.COPY_DST | GPUBufferUsage.MAP_READ});

const commandEncoder = device.createCommandEncoder();
// Encode commands for copying buffer to buffer.
commandEncoder.copyBufferToBuffer(
    buf,           // source buffer
    0,                  // source offset
    gbufferTmp,           // destination buffer
    0,                  // destination offset
    siz  // size
);

// Submit GPU commands.
const gpuCommands = commandEncoder.finish();
await device.queue.submit([gpuCommands]);

// Read buffer.
await gbufferTmp.mapAsync(GPUMapMode.READ);
const arrayBuffer = gbufferTmp.getMappedRange();
const arr = Array.from( new Int32Array(arrayBuffer) );
gbufferTmp.unmap();
log(msg + 'array contents:', arr);

}
Finally display the results in the 2 output buffers (one that used the atomic locking and the one that didn't).
As you should see, the one with atomic locking gave the correct result (the sum of the array elements is 15). The one without atomic locking will give an incorrect result. It might on occasion give the correct result but most of the time it will fail.
Very important - when you run the code - there is no errors or warnings for the non-atomic version - it just fails and you get an incorrect result.
Things to Try
• Try repeating the experiment with a
workgroup_size
of
2
and see what result you get (and explain why)
• Try the experiment on a larger array (an array with thousands of numbers)
• In addition to just 'adding' the numbers together - also try performing more complicated operations
• Look into other atomic functions (e.g.,